Setup Hugo and Github
This blog post is part of a series called How this blog is made.
This blog post is about how to set up a Github Repository and Hugo to create a static website which looks like my blog here.
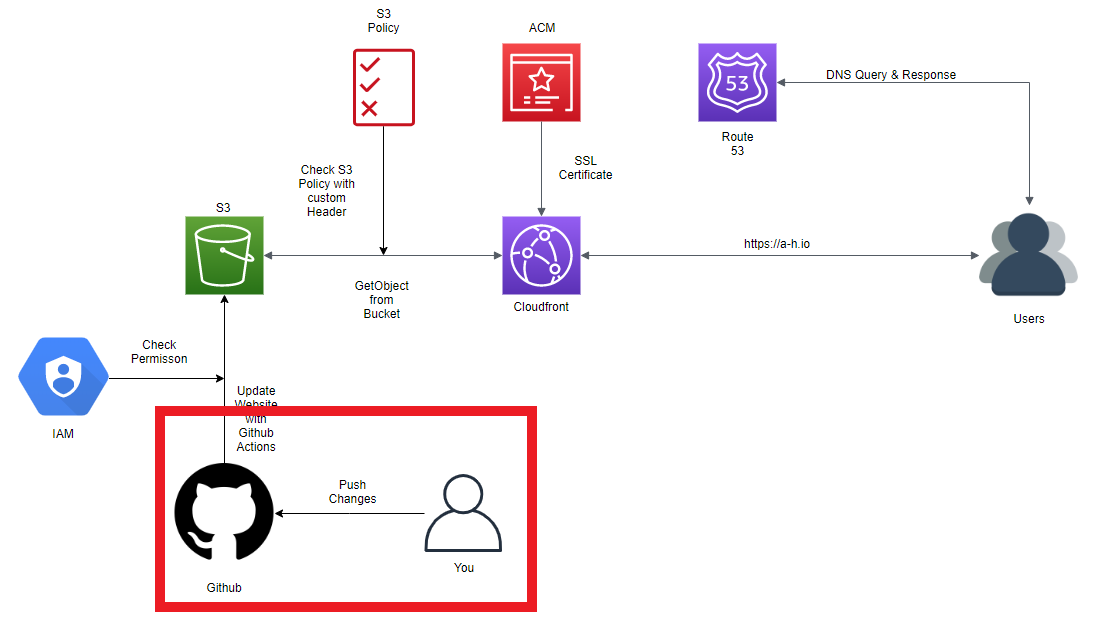
We will be focusing on this part of the diagram:
Install Hugo-extended.
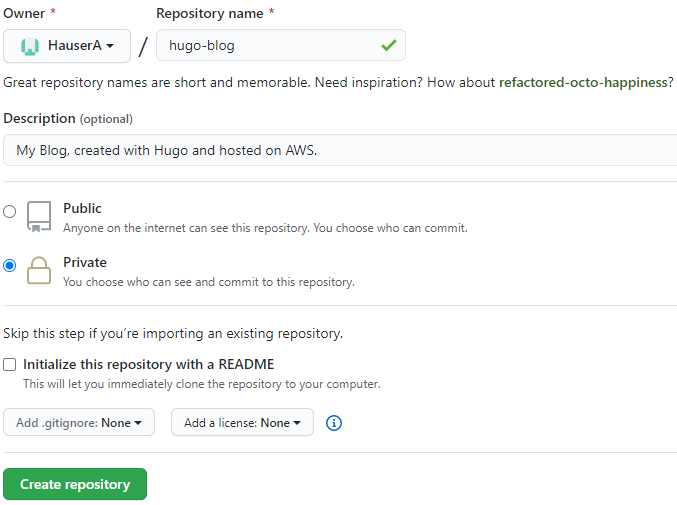
Create a new Github Repository.
Clone the Github Repository.
git clone https://github.com/<YourAccount>/<Your-Repository>.git
- Start a fresh Hugo site.
hugo new site <Your-Repository>
cd <Your-Repository>
git submodule add https://github.com/jakewies/hugo-theme-codex.git themes/hugo-theme-codex
- For the codex theme start with their example
config.tomland example_index.html.
# Copy the startpage
cp themes/codex/exampleSite/content/_index.html content/_index.html

# Copy the config file
cp themes/codex/exampleSite/config.toml config.toml

# Remove the first two lines from the config file
sed -i '1d;2d' config.toml
- Create your first blog post.
hugo new blog/:blog-post.md
- Start the demo server to look at your site on
localhost:1313.
hugo server -D
Now you can create more blog posts and start editing your page. To build your static website (and minify your page) use:
hugo --minify
This will create a folder <Your-Repository>/public with all the files you need to host your website.